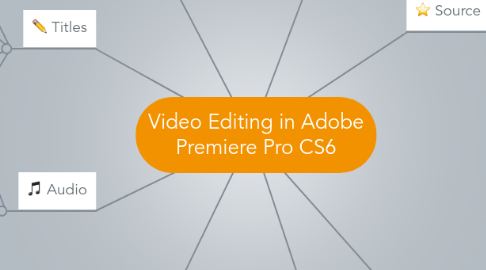
1. Video transitions
1.1. Cross dissolve
1.2. Cube spin
1.3. Addictive dissolve
1.4. Editing transitions
1.4.1. Change in point
1.4.2. Non-overlapping clips
1.4.3. Custom
1.4.3.1. Broadcast save colours
1.4.3.2. Borders
1.4.3.3. Centres
2. Titles
2.1. Still titles
2.2. Rolling credits
2.3. Crawling credits
2.4. Templates
2.4.1. Lower 3rds
3. Audio
3.1. Noise removal
3.2. Audio mixer
3.2.1. Read
3.2.2. Write
3.2.3. Latch
3.2.4. Touch
4. Render and Export
4.1. DVD
4.1.1. Adobe dynamic link to Encore
4.2. Flash video
4.2.1. FLV
4.2.2. F4V
4.2.3. VBR vs CBR
4.2.3.1. 1 pass vs 2 pass
4.3. QuickTime
4.3.1. Performance
4.3.2. Codex
4.3.2.1. None
4.3.2.2. Animation
4.3.2.3. Mpeg-4
4.3.2.4. H.264
5. Workspace
5.1. Essential
5.1.1. Reset
5.1.2. Customize
5.2. Basic panels
5.2.1. Project
5.2.1.1. Import
5.2.1.2. Preview
5.2.1.3. Asset data
5.2.2. Source
5.2.3. Program
5.2.4. Timeline
5.3. Proper workflow
5.4. Shortcut vs Menu
6. Source Panel
6.1. Playback
6.1.1. Current Time Indicator
6.1.2. Frame by frame
6.1.3. Loop
6.1.4. Other playback tools
6.1.4.1. Shuttle
6.1.4.2. Jog
6.2. Trimming (in/out)
6.3. Safe margins
6.4. Make still
7. Timeline
7.1. Timecode
7.2. Tracks
7.2.1. Add / delete
7.3. Markers
7.3.1. In / out
7.3.2. Clip markers
7.3.3. Sequence markers
7.3.4. Encore chapter markers
7.4. Create new sequence
7.5. Nesting sequences
8. Tools
8.1. Selection tool
8.2. "R"
8.2.1. Ripple edit
8.2.2. Rolling edit
8.3. "S"
8.3.1. Slip
8.3.2. Slide
8.4. About time
8.4.1. Razor
8.4.2. Track selection
8.4.3. Rate stretch
8.4.4. Speed / Duration

