
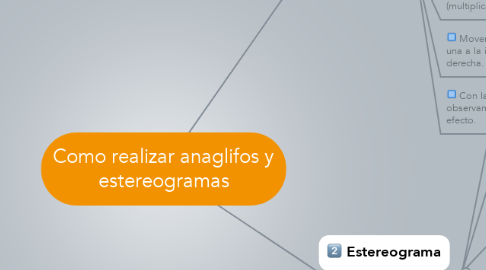
1. Anaglifo
1.1. Tomamos dos fotografías con 5 cm de diferencia, como la separación de un ojo a otro.
1.1.1. Recruit Project Sponsor
1.1.2. Recruit Project Manager
1.1.3. Review Related Projects and Lessons Learned
1.1.4. Prepare Project Initiation Plan
1.1.5. Brief the Initial Project Team
1.1.6. Review Project Kick-off Plans and Presentation Map
1.1.7. Hold Project Kick-off Meeting
1.2. Abrimos las imágenes en photoshop
1.2.1. Establish Project Objective
1.2.2. Establish Project Scope
1.2.3. Map Requirements
1.2.4. Map Solution
1.2.5. Map Training Requirement
1.2.6. Review Project Scope
1.3. En la imagen de la izquierda abrimos los canales, seleccionamos el rojo , presionamos control delt.
1.3.1. Determine Project Approach, Stages and Steps
1.3.2. Estimate Project Duration
1.3.3. Establish Resource Requirements
1.3.4. Prepare Project Schedule and Budget
1.3.5. Prepare Work breakdown structure
1.3.6. Document Success Criteria
1.3.7. Review Project Schedule
1.4. En la imagen de la derecha abrimos los canales, en esta imagen seleccionamos el canal azul y verde y presionamos control delt.
1.4.1. Identify Project Resources
1.4.2. Recruit Project Steering Committee
1.4.3. Recruit Project Coordinators
1.4.4. Identify / Recruit Key Stakeholders
1.4.5. Determine Training Requirements
1.4.6. Map the Project Organization Chart
1.4.7. Review Project Organization
1.5. Seleccionamos la capa de la imagen izquierda y ponemos el efecto (multiplicar)
1.5.1. Establish Project Administration Procedures
1.5.2. Establish Quality Control Procedures
1.5.3. Establish Progress Control Procedures
1.5.4. Establish Change Control Procedures
1.5.5. Establish Issue Resolution Procedure
1.5.6. Review Project Control Procedures
1.6. Movemos ligeramente las imágenes una a la izquierda y la otra a la derecha.
1.6.1. Estimate Project Costs
1.6.2. Identify and Quantify Benefits
1.6.3. Determine Break-even Point
1.6.4. Analyze Risk
1.6.5. Review Business Case
1.7. Con la ayuda de las gafas 3d observamos si conseguimos crear el efecto.
1.7.1. Prepare Initiation Stage Assessment
1.7.2. Review Initiation Stage Assessment
1.7.3. Follow-Up Initiation Stage Assessment
1.7.4. Compile Project Initiation Report
2. Estereograma
2.1. Abrimos photoshop
2.1.1. Establish checkpoints
2.1.2. Acquire team resources for stage
2.1.3. Conduct stage kick-off meeting
2.2. Abrimos el lienzo del tamaño deseado
2.2.1. Determine Frequency of Meetings
2.2.2. Schedule Meetings
2.2.3. Brief Project Board
2.2.4. Prepare Meetings
2.2.5. Conduct Meetings
2.2.6. Follow-up Meeting
2.3. Vamos a editar, rellenar y seleccionamos patrón. Se nos abrirá una lista de patrones elegimos el que más nos guste
2.3.1. Schedule Quality Review Meeting
2.3.2. Prepare for Quality Review Meeting
2.3.3. Conduct Quality Review Meeting
2.3.4. Follow-up Quality Review Meeting
2.4. Seleccionamos la opción (marque tool). Dibujamos un rectangulo en medio del estereograma.
2.4.1. Update Project Schedule
2.4.2. Update Budget / Costs
2.4.3. Conduct Team Status Review
2.4.4. Create Status Report
2.5. Aplastamos contol c y control v para copir la seleccion
2.5.1. Request Changes
2.5.2. Identify Alternative Solutions
2.5.3. Conduct Steering Committee Meeting
2.5.4. Document Change Responses
2.5.5. Implement Change(s)
2.6. Con ayuda de las flechas movemos la seleccion 10 clicks a la derecha
2.6.1. Identify Project Issues
2.6.2. Assess Impact of Issues
2.6.3. Assign Resources
2.6.4. Resolve Issue