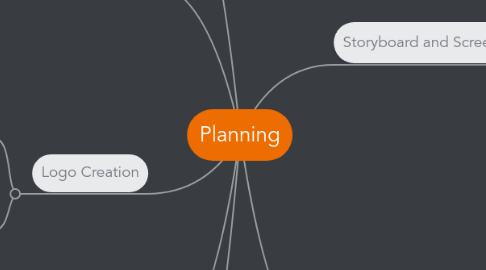
1. Shot List and Film Schedule
1.1. Cells
1.1.1. This software was similar to microsofts edexcell and allowed us to create a clear, concise shot list and film schedule that everyone would understand. It allowed us to present the dates, locations and times the actors and crew were needed.
2. Costume, Location and Props
2.1. Google Maps
2.1.1. I used google maps to source different locations that i had got the address from the internet so i could view it in street view which gave me a more realistic and accurate image of what the location looked like from a civilian perceptive.
2.2. Costume
2.2.1. Pinterest
2.2.1.1. I used pinterest to display both my costume and character ideas in a easy visual way which embedded onto my website easily. I was also able to add little notes below in the comments section of the pictures which allowed me to collect feedback easily.
3. Logo Creation
3.1. Youtube
3.1.1. I used youtube to look up various tutorials on how to achieve the look I wanted for the logo. It was also a very intricate procedure and this allowed me to develop my skills.
3.2. After Effects
3.2.1. I used after effects to create the logo as it is a very good, complex animation and SFX programme which I know how to use. It allowed me to manipulate the text to make it look like an 'open sign' which went with the theme of our film.
4. Film Pitch
4.1. iPhone
4.1.1. I used my iPhone to record myself pitching my initial film idea to the class which I then uploaded to youtube.
4.1.2. Youtube
4.1.2.1. I uploaded this to youtube again as I was able to put this on my blog easily and people could refer to and watch it back.
5. I used wix to present everything as it was a quick and easy tool which allowed me to present my ideas in a fun, engaging way.
6. Storyboard and Screenplay
6.1. Storyist
6.1.1. I decided to use storyist to write the script as it is a script writing software. It allowed me to format the script correctly and add ideas and delete ideas quickly. It printed in a script format and the font looked correct too.
6.2. Treatment
6.2.1. Youtube
6.2.1.1. I used youtube to upload my initial reading and ideas for my treatment. I did this so after presenting my idea to the class, if anyone wanted to go back and pick out something i said they could and would then be able to offer me further feedback.
6.2.2. Sound Cloud
6.2.2.1. I used soundcloud to record the feedback I received from my presentation of the treatment and initial idea. This was good as it would embed on my website easily and would allow me to record different ideas quickly and easily.
6.3. Storyboard
6.3.1. Scanner
6.3.1.1. I first drew each frame by hand on a graph made on microsoft word and then scanned the images through my printer onto my laptop so i was able to present them on my wix page.
7. Music and Sound
7.1. Logic
7.1.1. I used logic and garage band to show how i would be able to manipulate sounds so they would go well in our film
7.2. Macbook Air
7.2.1. To complete all my work i have been using my macbook air. This worked well as all the different media platforms I have been using run well on the mac. The mac also comes with many apps that run and are only on mac products.

