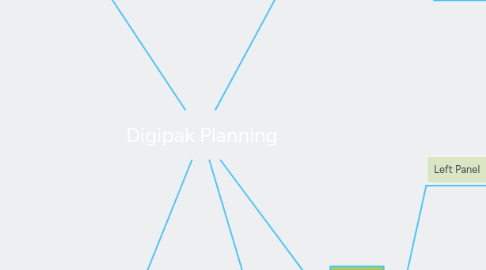
1. Inside
1.1. Left Panel
1.1.1. Pictures presented as a collage
1.1.1.1. Black & white
1.1.1.1.1. Borders included
1.1.2. Four pictures of James
1.1.2.1. Black & white
1.1.2.1.1. No borders in-between
1.1.3. Three pictures of James
1.1.3.1. Diagonally positioned
1.1.3.1.1. Black & white
1.1.4. Ten pictures of James
1.1.4.1. Diagonally positioned
1.1.4.1.1. Black & white
1.2. Middle Panel
1.2.1. Space will be taken up by disk
1.2.1.1. Background image will be of James
1.2.1.1.1. Black & white
1.2.1.2. Text instead of image
1.2.1.2.1. Text will state info about James
1.3. Right Panel
1.3.1. Pictures presented as a collage
1.3.1.1. Black & white
1.3.1.1.1. Borders included
1.3.2. Four pictures of James
1.3.2.1. Black & white
1.3.2.1.1. No borders in-between
1.3.3. Three pictures of James
1.3.3.1. Diagonally positioned
1.3.3.1.1. Black & white
1.3.4. One Image of James
1.3.4.1. Spreads across the entire panel
1.3.4.1.1. Black & white
2. Back
2.1. Left Panel
2.1.1. When folded will appear as the cover of the digipak
2.1.1.1. Background will be a mid-shot picture of James
2.1.1.1.1. Will have written text saying the title of the song and James' name
2.1.1.2. Background will be black with a close-up of James on top
2.1.1.2.1. Will have written text saying the title of the song and James' name
2.2. Middle Panel
2.2.1. When folded will appear as the back of the digipak
2.2.1.1. Background will be plain back (no image)
2.2.1.1.1. Filled with text
2.2.1.1.2. Barcode and record label logo will also be included
2.2.1.2. Background will be filled with an image
2.2.1.2.1. Text will be written on top but just below being central
2.3. Right Panel
2.3.1. Will have a plain black background
2.3.1.1. Will have written text (a motivational quote from James)
2.3.2. Ten pictures of James
2.3.2.1. Diagonally positioned
2.3.2.1.1. Black & white
3. Steps to get final product that need to be taken:
3.1. 1.Research digipaks
3.2. 2.Meet with James to discus times when he is available for photoshoot
3.3. 3.Carry out photoshoot
3.3.1. Organise
3.3.2. Take images
3.3.3. Choose images
3.3.4. Edit images
3.3.5. Place images where the flat plan and the sketches say they should go
3.4. 4.Flat plans need to be created
3.4.1. Annotate where necessary
3.4.1.1. Take pictures of flat plan
3.5. 5.Sketches need to be drawn
3.5.1. Annotate where necessary
3.5.1.1. Take pictures of sketches
3.6. 6.Fonts need to be chosen
3.6.1. Use "DaFont" the font website
3.7. 7.Creation of digipak
3.7.1. Use Photoshop
3.7.2. Use Indesign
3.8. 8.Upload everything above
3.9. 9.Get feedback
3.10. 10.Act on feedback or not
4. Equipment needed
4.1. Camera
4.1.1. Camera bag
4.1.2. SD card
4.2. Tripod
4.2.1. Tripod bag
4.3. Computer
4.3.1. Indesign
4.3.2. Photoshop
4.3.3. Fotor picture editor
4.3.4. Collage It
4.4. Memory stick
4.5. Drawing equipment
4.5.1. Paper
4.5.2. Pen
4.5.3. Pencil
4.5.4. Ruler

