

1. LOGISTICS
1.1. SignUps
1.1.1. Colab (no installation- Just **pucp** email)
1.1.2. GitHub (cloud)
1.2. Installations
1.2.1. Python
1.2.1.1. Anaconda
1.2.2. R
1.2.2.1. R (cran)
1.2.2.1.1. Flexdashboards
1.2.2.2. RStudio
1.2.3. GitHub Desktop
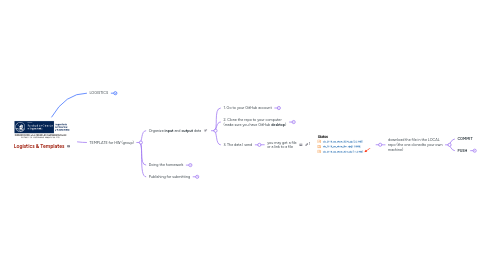
2. TEMPLATE for HW (group)
2.1. Organize **input** and **output** data
2.1.1. 1. Go to your GitHub account
2.1.1.1. OPTIONAL
2.1.1.1.1. Go to "**Your organizations**"
2.1.1.2. Create repo on your Github for this course
2.1.1.2.1. You will create ONE repository per HW
2.1.2. 2. Clone the repo to your computer (make sure you have GitHub **desktop**)
2.1.2.1. You will do this **ONCE** (one for each HW)
2.1.2.2. Look for **CODE** in green
2.1.2.2.1. never clone inside another app's folder
2.1.2.2.2. You can clone anywhere, choose a location easy to find
2.1.3. 3. The data I send
2.1.3.1. you may get a file or a link to a file
2.1.3.1.1. download the file in the LOCAL repo (the one clonedto your own machine)
2.2. Doing the homework
2.2.1. Python
2.2.1.1. Read RAW data from GitHub
2.2.1.1.1. DO **SOMETHING**
2.2.2. R
2.2.2.1. Publishing
2.2.2.1.1. input files treated by Python from GitHub
2.2.2.1.2. Prepare files with plots
2.2.2.1.3. Publish
2.3. Publishing for submitting
2.3.1. Knit your homework
2.3.1.1. rename the _html file_ generated as **index.html** (lowercase only)
2.3.2. Back to GitHub: check the desktop app
2.3.3. Go to your "Repo" on the GitHub cloud
2.3.3.1. easy way to find from the desktop app!
2.3.4. Go to "Settings"
2.3.4.1. use pages!
2.3.4.1.1. final steps
2.3.4.2. you do **NOT** need to update the link after each homework