How to build and use a raspberry pi operated homebrewery and fermentation control system


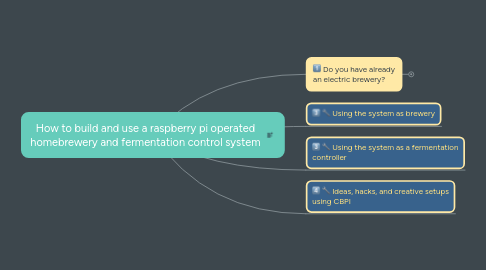
1. Do you have already an electric brewery?
1.1. yes
1.1.1. Lets start gathering a list of required parts for it
1.1.1.1. Lets start with a close look up about raspberry pi mini computer
1.1.1.1.1. Raspberry Pi 3
1.1.1.1.2. or Raspberry Pi zero W
1.1.1.2. required parts for any setup
1.1.1.2.1. Do you have an PT100 temperature sensor from your previous electric setup?
1.1.1.2.2. dupont wires
1.1.1.2.3. ULN2003
1.1.1.2.4. PCB BOARD
1.1.1.3. Optional parts or one time use parts for setup
1.1.1.3.1. parts required only for setup
1.1.1.3.2. optional parts
1.1.2. how to wire?
1.1.2.1. schematic wiring
1.1.2.2. General tips that makes wiring easy.
1.1.2.2.1. buy yourself a breadboard, them make the wiring, preform the configurations, write your connections scheme and write it, you will need to do that in order see that everything goes well and only then pack and wire the Rpi inside a control box.
1.1.2.2.2. I suggest to buy some quick mount and cable disconnects (xlr or others) to plug the sensors only when only you brew. this way your control box won't have swinging cables when its not operated.
1.1.3. Raspberry OS Installation (Noobs)
1.1.4. installing Craft beer pi
1.1.4.1. version 2.2 (stable for common users)
1.1.4.2. version 3 (stable for people that looking for more flexible setups and more options)
1.2. no
1.2.1. please review my excel document how to build it you will need the same setup exluding the SESTOS temperature controller: Philip's homebrewery - Parts, notes, links and prices