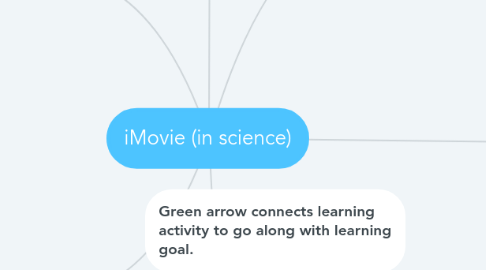
iMovie (in science)
by Jesse Singleton

1. Learning Activities
1.1. The teacher could create a video teaching students how to properly complete a lab experiment. This would allow students to pause the video when necessary in order to follow each step carefully
1.2. Students can use this technology to create short movies/ documentaries related to the science field (ex. a movie about a specific planet in the solar system)
1.3. Aspects of creative writing can be integrated into the science classroom. For example, students will have the opportunity to create a movie that tells a story about a day in the life of a virus, cell, etc.
1.4. Students will create different copters and see how many times the different models spin before hitting the ground. They will film this and use the slow-mo feature to count the number of spins.
1.5. Students can use this resource to create an interactive presentation on a certain topic that calls for more discussion (evolution, water cycle, etc)
2. Teacher Roles
2.1. Instead of creating a PowerPoint presentation related to a specific lesson, iMovie can be used to create a presentation that is more exciting and engaging for the students.
2.2. This app allows the teacher to walk around and take note of how well the students are learning as it puts the students in charge of the classroom. The students will be the one creating these presentations and starting discussions, so it allows the teacher the time to go to every student and see how they are doing.
2.3. Challenging students to use unfamiliar technologies in the classroom will help prepare students for success outside of the classroom. When living in an age that relies on the heavy usage of technology, the classroom is the perfect place to introduce students to the benefits of becoming proficient in using different technologies
2.4. The teacher can use this technology to assign different topics to each student, based on prior knowledge, and create a day where students will teach each other rather than the teacher teach the whole class. This way students work on their speaking skills along with presentation skills.
3. Green arrow connects learning activity to go along with learning goal.
4. Students will be able to successfully use technology in the classroom in order to add deeper meaning to topics related to the science field
5. Reasons for Use
5.1. alternative way to do a presentation or slideshow
5.2. use real world images and music to present
5.3. digital storytelling of a cycle
5.4. creating movies or video clips for clubs or events (Ex: Science Club)
5.5. independent assignments or book reports (Ex: Fahrenheit 451)
5.6. Allows for students to use their creativity in an educational setting
6. Learning Goals
6.1. I can use iMovie to create a slideshow that explains Newton's 3 Laws
6.2. I can use iMovie to collect video data of my copter as it falls.
6.3. I can take notes from the iMovie presentation that discusses Moon Phases.
6.4. I can present my findings through a presentation on iMovie.
6.5. I can use iMovie to explain the process of photosynthesis through digital storytelling.
6.6. Students will be able to understand the classroom content in a greater way after creating a presentation based off of the information they take notes on in class and find online. The goal is for students to be able to describe scientific processes with understanding.
7. Learning Assessments
7.1. Students will use iMovie to make a slideshow to explain Newton's laws. They need to include definitions, pictures and examples
7.2. Students can use iMovie to create a movie with their partners or individually that requires them to go outside and identify the components and process of photosynthesis.
7.3. Students will use iMovie to film the moon each night for one month, showing the different phases of the moon.
7.4. Students create a presentation over an experiment they did and what they found. Presentation includes scientific methods and conclusions.
7.5. Students can create a presentation that describes a process (cell cycle, plant life, etc) as a way to summatively assess the students' learning. Each student in the group will be given a different part of the cycle to focus on, so the teacher can measure the knowledge and participation of each student.
8. These learning assessments tie in with these learning goals (indicated by arrows)


