Using iMovie on an iPad
von Dustin Windsor
1. 8. Recording Audio That Plays Over Pictures / Videos
1.1. a. Align red vertical line to where the audio should start
1.2. b. Tap microphone button on the left of the video button
1.3. c. Tap "Record" on the top right window. There will be a countdown to where the red line was.
1.4. d. Record the audio and tap "Accept"
1.5. e. Audio will be inserted and can be moved around by holding down on it and then moving it
2. 9. Adding a Theme
2.1. a. Tap the gear button in the top right hand corner
2.2. b. To view the themes, select "Project Settings"
2.3. c. To select one, highlight it and tap somewhere else to exit the menu. (Theme music can also be turned on here)
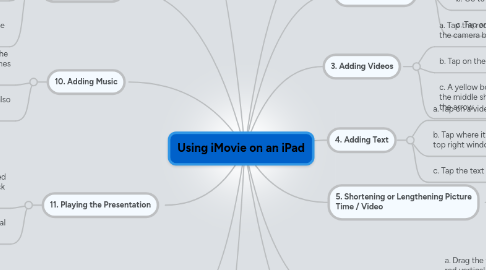
3. 10. Adding Music
3.1. a. Tap on the music note button next to the camera and choose a song from your iTunes account
3.2. b. Theme music and sound effects can also be added here
4. 11. Playing the Presentation
4.1. a. Adjust the presentation so that the red vertical line is placed where the playback should start.
4.2. b. Tap on the play button on the horizontal bar under the top right window
5. 12. Exporting the Presentation
5.1. a. Tap on "My Projects" button along the top to return to the home screen
5.2. b. Tap on the button along the bottom with an arrow coming out of a square
5.3. c. Either "Share Movie To" or "Send Project To" and choose where it should be exported to
6. 13. Exporting the Presentation to YouTube
6.1. a. Sign in to your YouTube account once you've taped on the YouTube button from the last step
6.2. b. Fill in the video info and then tap "Share" in the top right corner
7. 1. Starting a Project
7.1. a. Open iMovie
7.2. b. Tap the "+" sign along the bottom of the screen
8. 2. Adding Pictures
8.1. a. Tap the camera button on the horizontal bar in the middle of the screen
8.2. b. Go to cameral roll
8.3. c. Tap on the picture you want to add
9. 3. Adding Videos
9.1. a. Tap the rectangle located to the left of the camera button
9.2. b. Tap on the video you want to add
9.3. c. A yellow border with a blue down arrow in the middle should appear on the video. Tap on the arrow.
10. 4. Adding Text
10.1. a. Tap on a video already inserted
10.2. b. Tap where it says "Title Text Here" in teh top right window
10.3. c. Tap the text and tap done
11. 5. Shortening or Lengthening Picture Time / Video
11.1. a. Tap on the picture / video
11.2. b. Yellow border with lines on the sides should appear. Tap either circle on the top of the lines and drag
12. 6. Split Videos
12.1. a. Drag the video either left or right so that the red vertical is aligned where it's supposed to split
12.2. b. Tap on the inserted video so that it has a yellow border
12.3. c. Swipe down along the red line
13. 7. Recording Video
13.1. a. Tap on the video camera button on the right of the horizontal bar
13.2. b. Record a video and select "Use" in the bottom right hand corner
